
IDEX (Aurora) has finally launched the ability to run an AURA staking node. Although IDEX (Aurora) has provided great instructions for doing this, my hope is that I can even bring more clarity to the process and more specifically on how to set up an AURA staking node on Vultr which is one of the cheapest and best VPS providers out there.
Table of Contents
What Is An AURA Staking Node?
IDEX’s (Aurora’s) Tier 3 AURA staking node is the first to be released of 3 different types of nodes that will eventually make the IDEX exchange fully decentralized. According to IDEX (Aurora), all trade data is currently fed to clients directly from their servers. The Tier 3 AURA staking nodes will take over this process spreading it across multiple nodes run by individuals throughout the world. Very cool in my opinion and what cryptocurrency and blockchain is all about.
How To Set Up An IDEX (Aurora) AURA Staking Node on Vultr
To run a Tier 3 node, you must have at least 10,000 AURA stored in a wallet. And the more AURA you have, the more ETH you will earn in rewards. Eventually, you’ll have to have those AURA in a wallet for at least 7 days before you can create your node but that requirement has been suspended for the time being since they are trying to get people on board this new service.
Set Up Your Server On Vultr
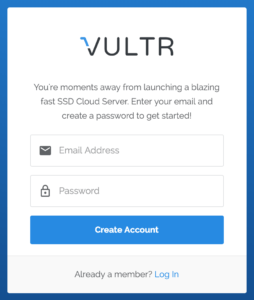
Step 1: Create A Vultr Account
Go here to sign up for Vultr. If you use this link you will receive a free $50 credit to use the platform. Enter an email address and password to create your account.
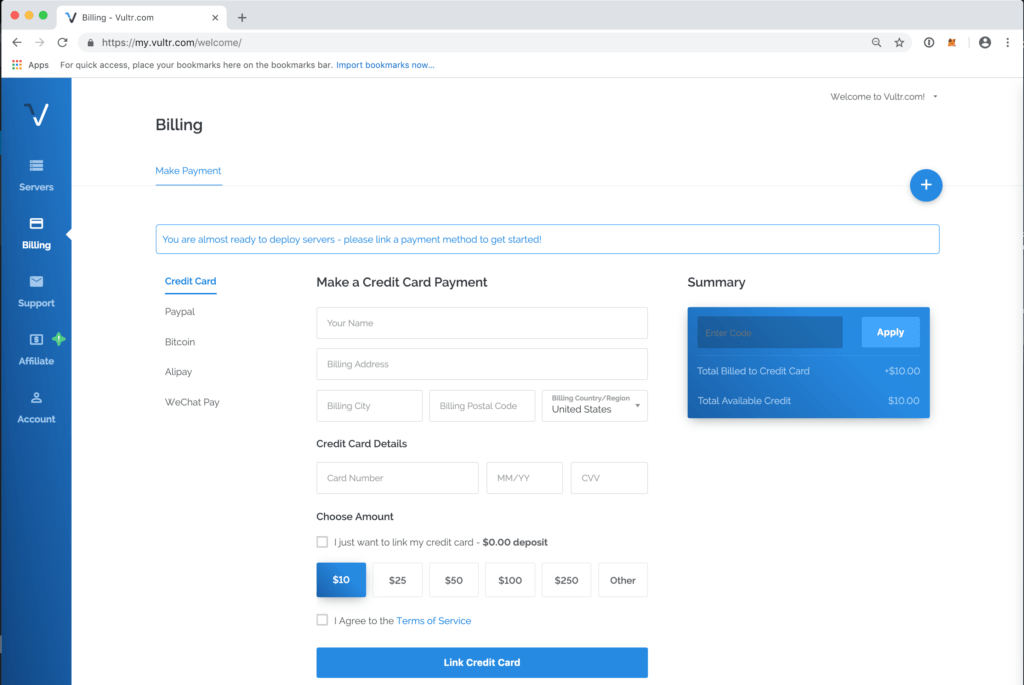
Step 2: Enter Your Billing Information
You must link your billing information before you get started. You can either pay with a credit card, Paypal, Bitcoin, Alipay, or WeChat Pay.
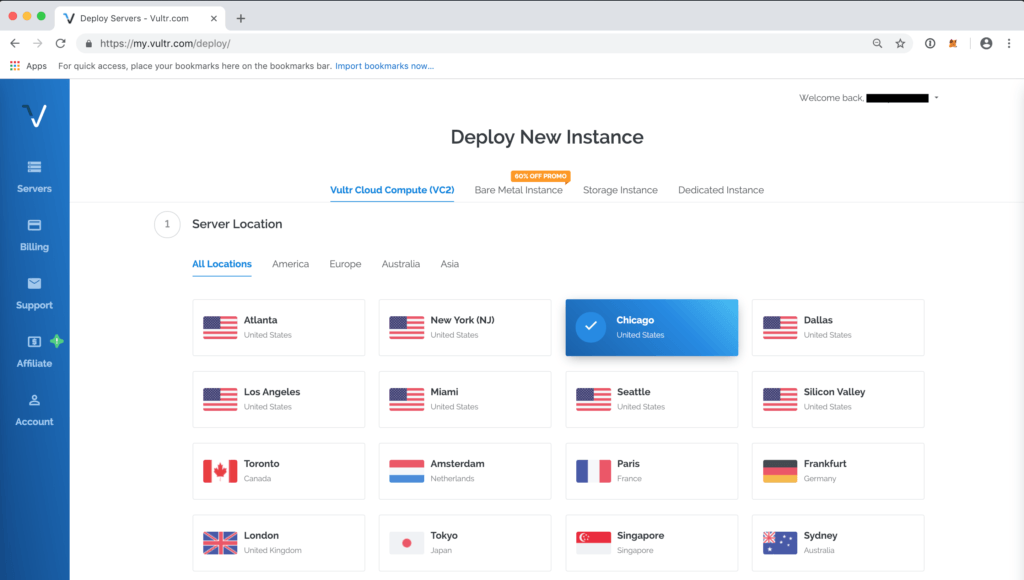
Step 3: Choose A Location For Your Server (Instance)
Go to the “Servers” tab and choose where you would like your server to be located.
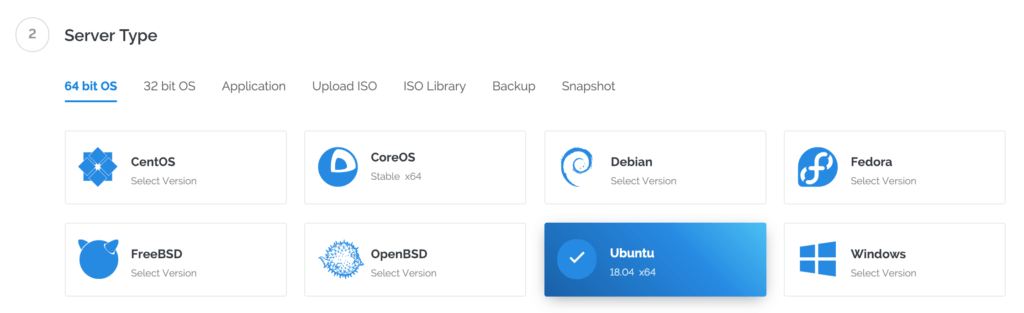
Step 4: Choose Your Server Type
You will need to choose Ubuntu 18.04 x64 for your server type.
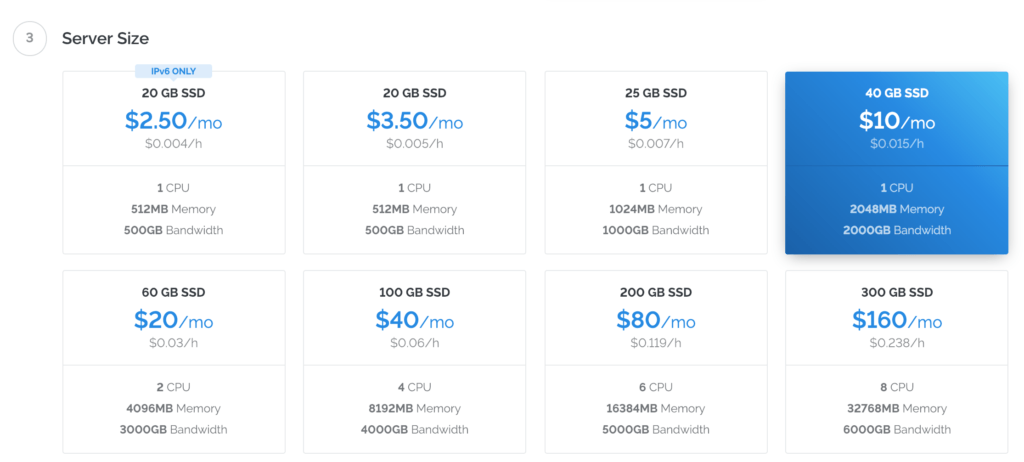
Step 5: Choose Your Server Size
IDEX (Aurora) recommends 2GB of Memory and 20GB of storage. Vultr’s $10 / month plan has both of these.
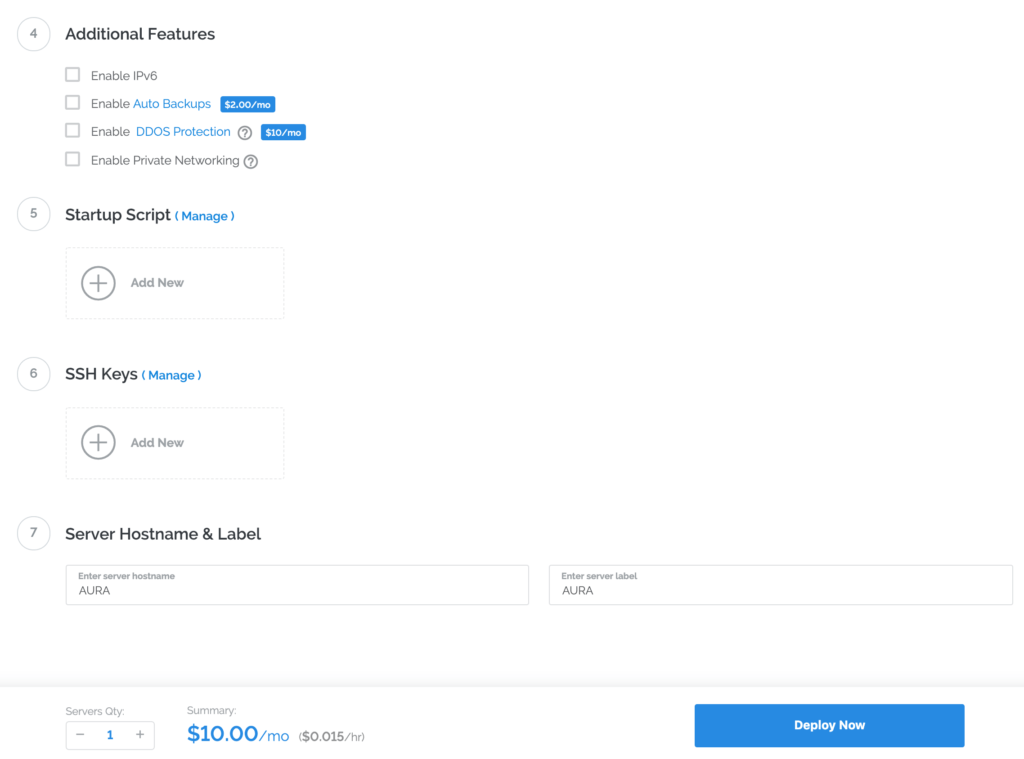
Step 6: Choose Additional Settings
You can leave the additional features, startup scripts, and SSH keys blank for now. For the Server Hostname & Label, you can call it whatever you want. I chose AURA. Click “Deploy Now” to deploy the server.
Step 7: Launch The Console
In the “Server Information” area of the server you just created, click the screen icon to launch the console. This allows you to screenshare into the remote server you just set up. If you see the root@AURA command prompt, your server is ready to be configured.

Create A New User Account
Step 8: Create A New “aurad” User Account
By default, Vultr gives you a root account. IDEX (Aurora) prefers that you run everything as a user account instead of a root account. In order to do that, we need to create a new user account called “aurad” using the following command.
When you run this command you will be asked to assign it a password. Pick something that you will remember but something that is also secure. After that, you’ll be asked to change the information for “aurad” such as Full Name, Room Number, etc. Don’t worry about filling all of this out. Just hit enter for each of these options to accept the defaults and when it asks you if the information is correct, choose Y for yes and hit enter.
adduser aurad
(It should look like this.)
![]()
Step 9: Add The New “aurad” User Account To The Sudo Group
By default, the new “aurad” user you created will not be in the sudo group. Run the following command to add it.
usermod -aG sudo aurad
(It should look like this.)
![]()
Step 10: Switch To The New User Account
Run the following command to switch to the new “aurad” user account you created.
su - aurad
(It should look like this.)
![]()
Install Docker CE
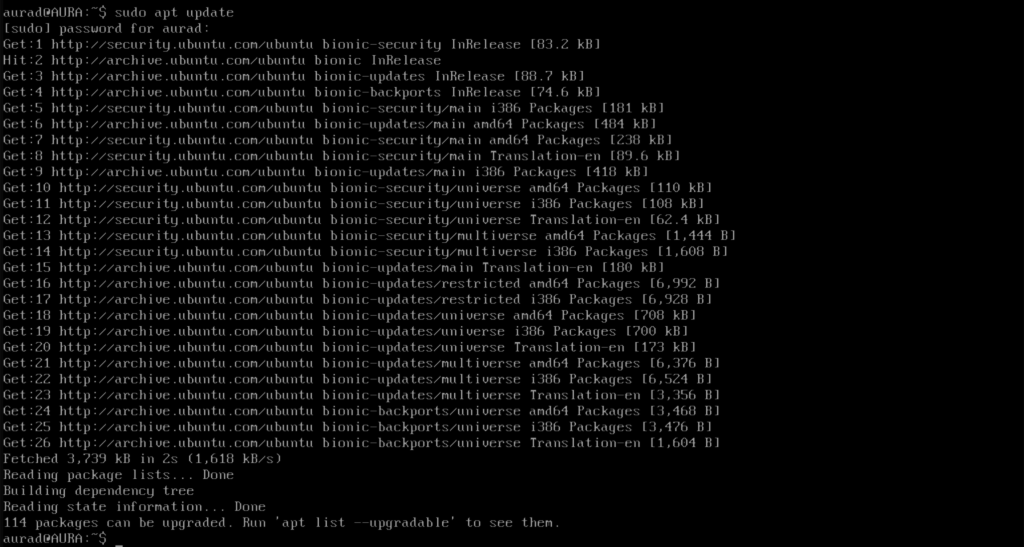
Step 11: Update Packages
Run the following command to update packages.
sudo apt update
(When you run the command it will look similar to this.)
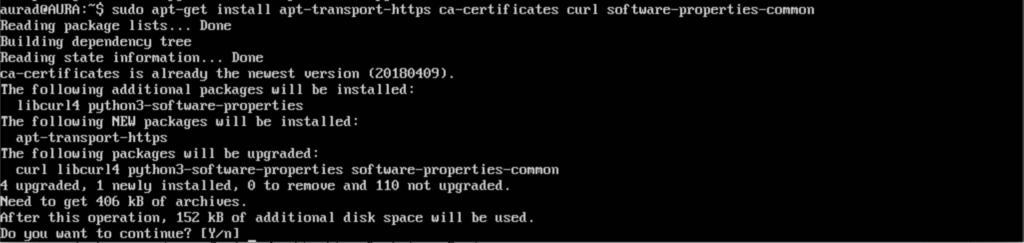
Step 12: Install dependencies that allow apt to install packages via https
Run the following command and enter Y for yes when you are asked if you want to continue.
sudo apt-get install apt-transport-https ca-certificates curl software-properties-common
(When you run the command it will look similar to this.)
Step 13: Add Docker’s official GPG key:
Run the following command.
curl -fsSL https://download.docker.com/linux/ubuntu/gpg | sudo apt-key add -
(When you run the command it will look similar to this.)

Step 14: Add the stable Docker repository to apt
Run the following command.
sudo add-apt-repository "deb [arch=amd64] https://download.docker.com/linux/ubuntu $(lsb_release -cs) stable"
(When you run the command it will look similar to this.)

Step 15: Update apt to include Docker packages
Run the following command.
sudo apt update
(When you run the command it will look similar to this.)

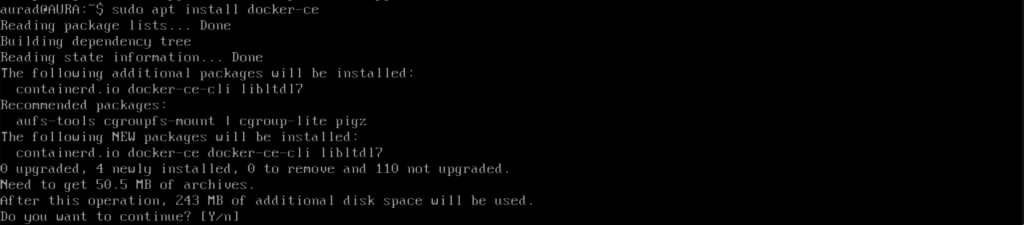
Step 16: Install the Docker CE package
Run the following command and enter Y for “yes” when you are asked if you want to continue.
sudo apt install docker-ce
(When you run the command it will look similar to this.)
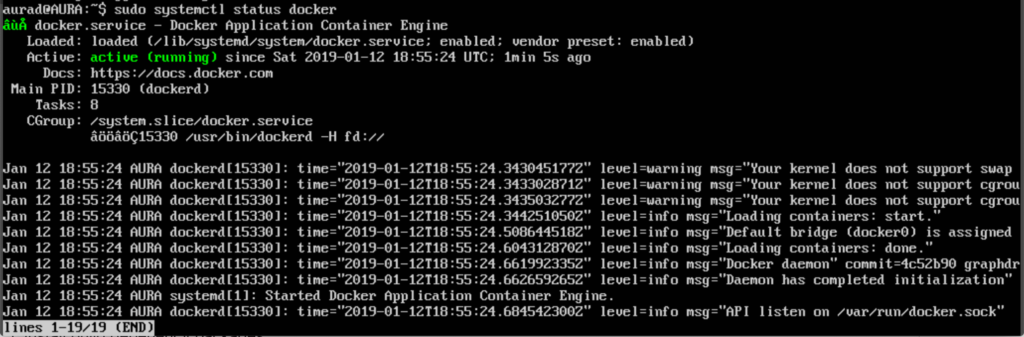
Step 17: Confirm Docker is running
Run the following command.
sudo systemctl status docker
(When you run the command the output should look similar to this.)
Step 18: Exit docker status.
You will have to hold down the Control and press the C button on your keyboard to stop the docker status before you can return to the command prompt. After you do that, it should look similar to this.
![]()
Step 19: Add your user to the docker group to avoid permissions issues
Run the following command.
sudo usermod -aG docker ${USER}
(When you run the command it will look similar to this.)
![]()
Step 20: Log out
Run the following command.
logout
Step 21: Log back in and docker commands will be available from the prompt
Run the following command.
su - aurad
(When you run the command it will look similar to this.)
![]()
Install Docker Compose
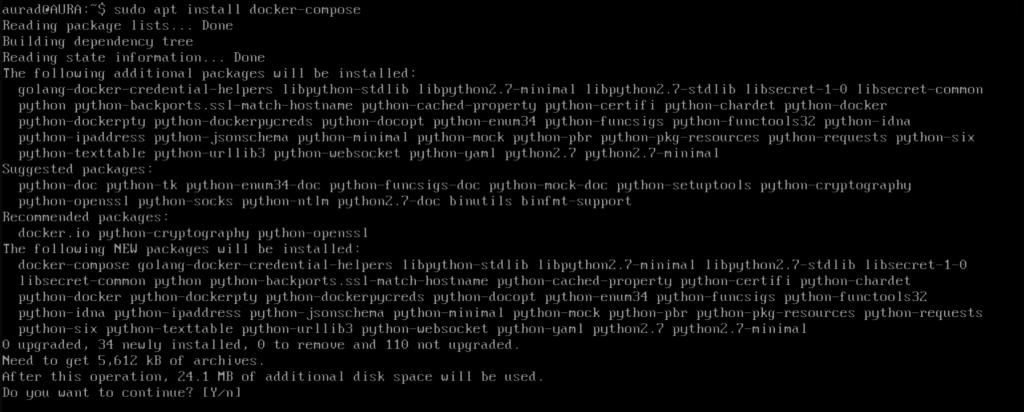
Step 22: Install the Docker Compose package
Run the following command and enter Y for “yes” when you are asked if you want to continue.
sudo apt install docker-compose
(When you run the command it will look similar to this.)
Install nvm, Node.js & npm
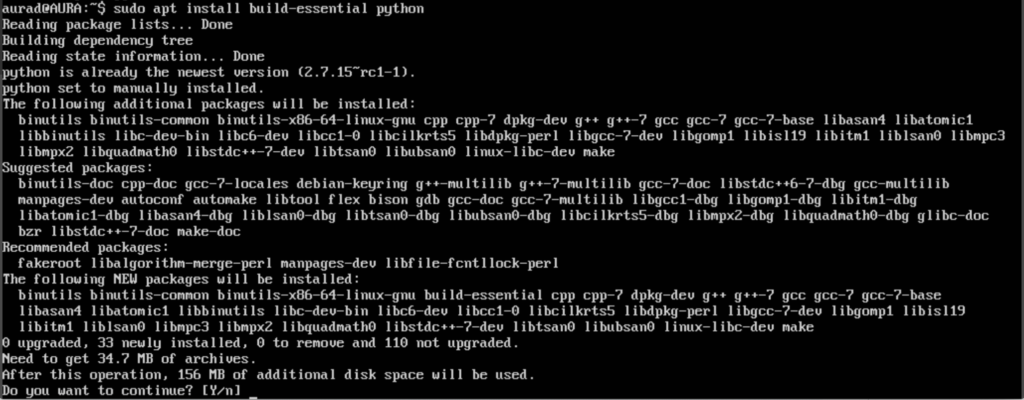
Step 23: Install build depenency packages
Run the following command and enter Y for “yes” when you are asked if you want to continue.
sudo apt install build-essential python
(When you run the command it will look similar to this.)
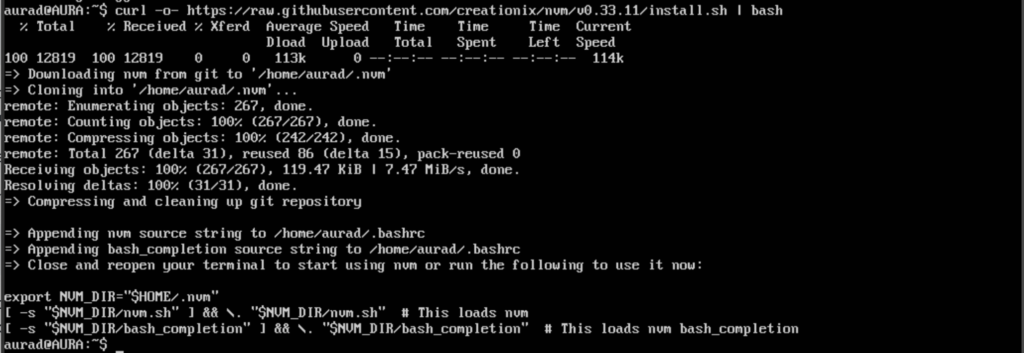
Step 24: Install nvm
Run the following command.
curl -o- https://raw.githubusercontent.com/creationix/nvm/v0.33.11/install.sh | bash
(When you run the command it will look similar to this.)
Step 25: Log out
Run the following command.
logout
![]()
Step 26: Log back in and nvm commands will be available from the prompt
Run the following command.
su - aurad
(When you run the command it will look similar to this.)
![]()
Step 27: Install Node.js
Run the following command.
nvm install 10.15
(When you run the command it will look similar to this.)

Install and launch AuraD
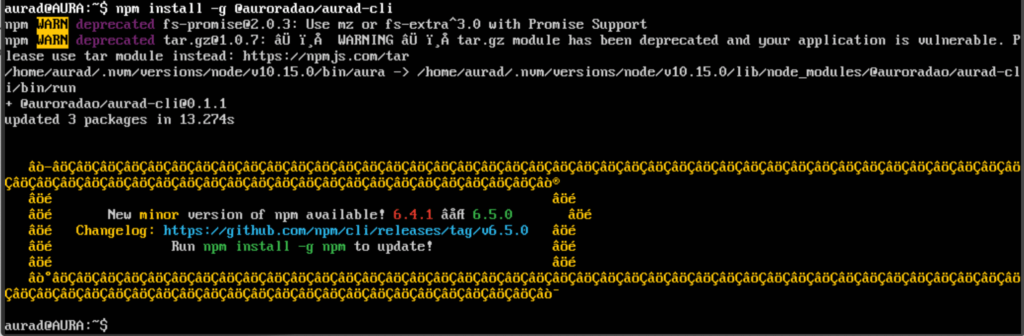
Step 28: Install aurad-cli to start and manage AuraD
Run the following command.
npm install -g @auroradao/aurad-cli
![]()
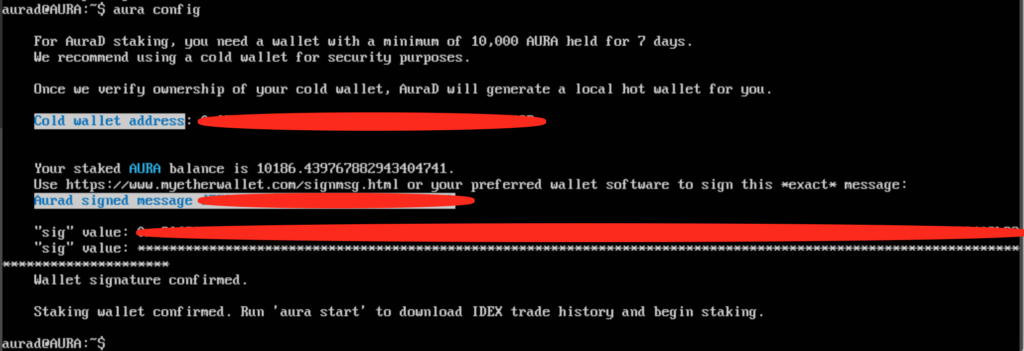
Step 29: Configure a staking wallet
Run the following command.
aura config
(When you run the command it will look similar to this.)

Enter the wallet address that contains your 10,000 or more AURA and hit enter.
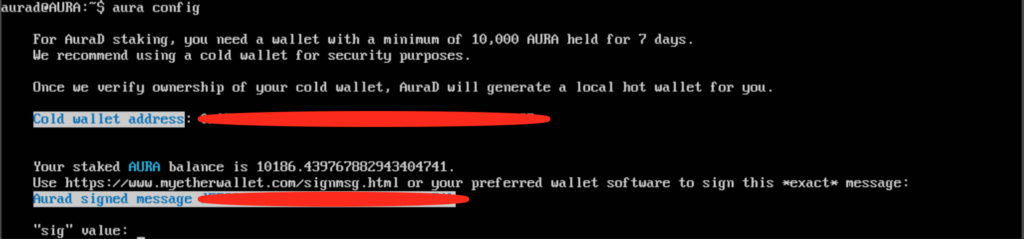
Once your balance is verified, you will be given a message to sign that will begin with “Aurad signed message” followed by random letters and numbers. Go to this MyEtherWallet page or your preferred wallet software, open your wallet, and enter that message to be signed. If it is correct, you will be provided with a sig value to prove that you control the wallet. Enter that sig value in your AURA server at the prompt to confirm that the wallet is yours.
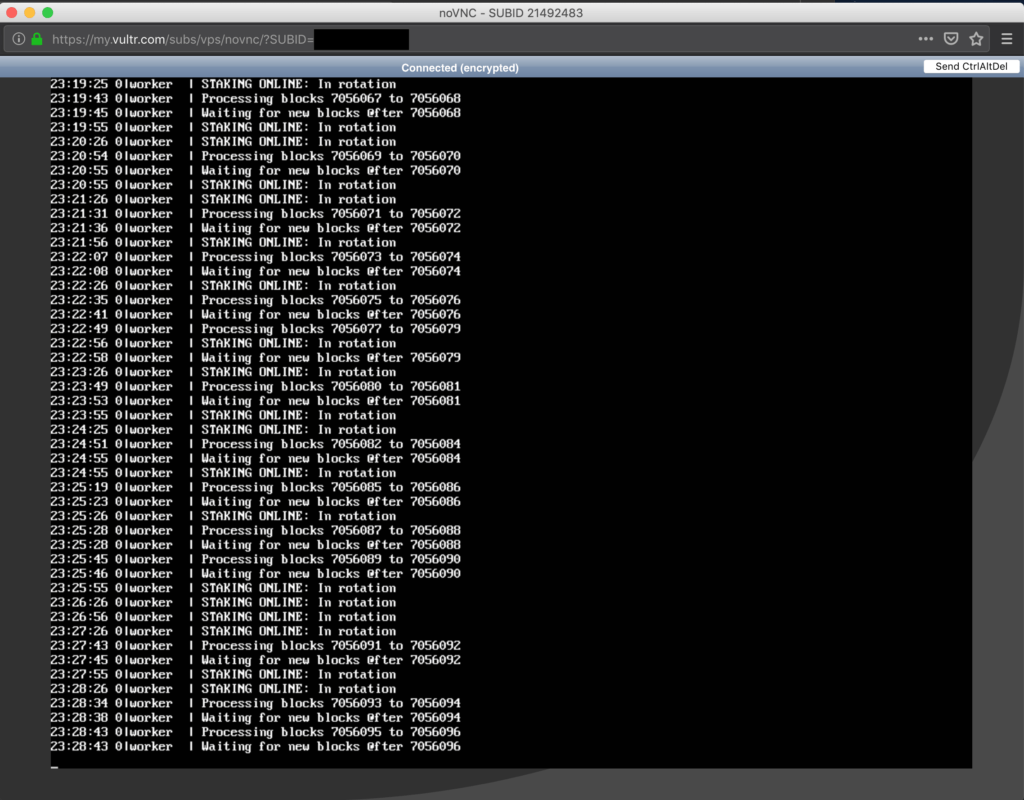
Step 30: Sync your Aura Node and start serving traffic
Run the following command.
aura start
AuraD connects to the Ethereum network and downloads IDEX trade history data to serve to IDEX users. Depending on the resources of the underlying computer or VPS and network, the initial syncing process may take a few minutes to several hours.
(When you run the command it will look similar to this.)

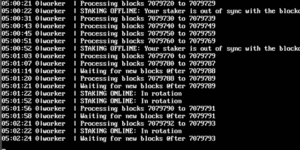
Once the sync has completed, you can run the following command to see what your node is up to.
docker logs -f docker_aurad_1
If it is working, it should look like this.
A note on connectivity
In order to serve data to IDEX users, AuraD Nodes must be reachable from the public internet. Most home and office connections are not publicly reachable by default, so you may need to take steps like opening up specific ports on your router. AuraD requires public TCP access to port 8443, and has limits on how frequently a node can change IP addresses.
IDEX (Aurora) recommends running AuraD on an always-on, contected machine or a cloud-hosted compute instance.
Managing AuraD
AuraD is design to require minimal maintenance once it is live. For details on managing AuraD, run the following command to display documentation on the aurad-cli’s capabilities.
aura
Common management tasks
Examining logs
Logs are the best source of information to understand what’s happening with AuraD under the hood. To follow the AuraD logs, run the following command.
docker logs -f docker_aurad_1
Stopping AuraD
To stop AuraD, run the following command.
aura down
Restarting AuraD
To restart AuraD, run the following command.
aura up
Upgrading AuraD
Occasionally, you will have to upgrade AuraD in order to continue contributing to the network. Here is how to do this.
Step1: Stop the AURA staking service.
Run the following command to stop the AURA staking service.
aura stop
(When you run the command it will look similar to this.)

Step 2: Perform the upgrade.
Run the following command to perform the upgrade.
npm install -g @auroradao/aurad-cli
(When you run the command it will look similar to this.)
Step 3: Start the AURA staking service.
Run the following command to start the AURA staking service.
aura start
(When you run the command it will look similar to this.)

Occasionally an upgrade may require running aura config before it can start serving traffic.
Running AuraD with a custom RPC endpoint
AuraD ships with its own copy of the Parity Ethereum Client and uses Parity to load data from the Ethereum blockchain. To use a different Etheruem node, you can specify a custom RPC endpoint
aura start --rpc <RPC endpoint URL including port>
Getting Help and Reporting Issues
For questions about getting started and help if you’re stuck, please reach out to the IDEX (Aurora) team on Discord.
If you believe you have identified a bug in AuraD, please file an issue.
Additional Resources
IDEX (Aurora) Staking Node Instructions on Github
IDEX Launches Staking Announcement
How To Calculate Your Potential Earnings From AURA Staking
How To Create A Sudo User On Ubuntu
If I missed something, please post it in the comments below.


One comment
Hello mate awesome write up! Just wondering if yiu csn be contacted via email please?
Thank you